Your sliding wardrobe door leaves a gap, looking messy and letting dust in. This is frustrating, but the fix is often simple. A few quick adjustments can restore a perfect fit.
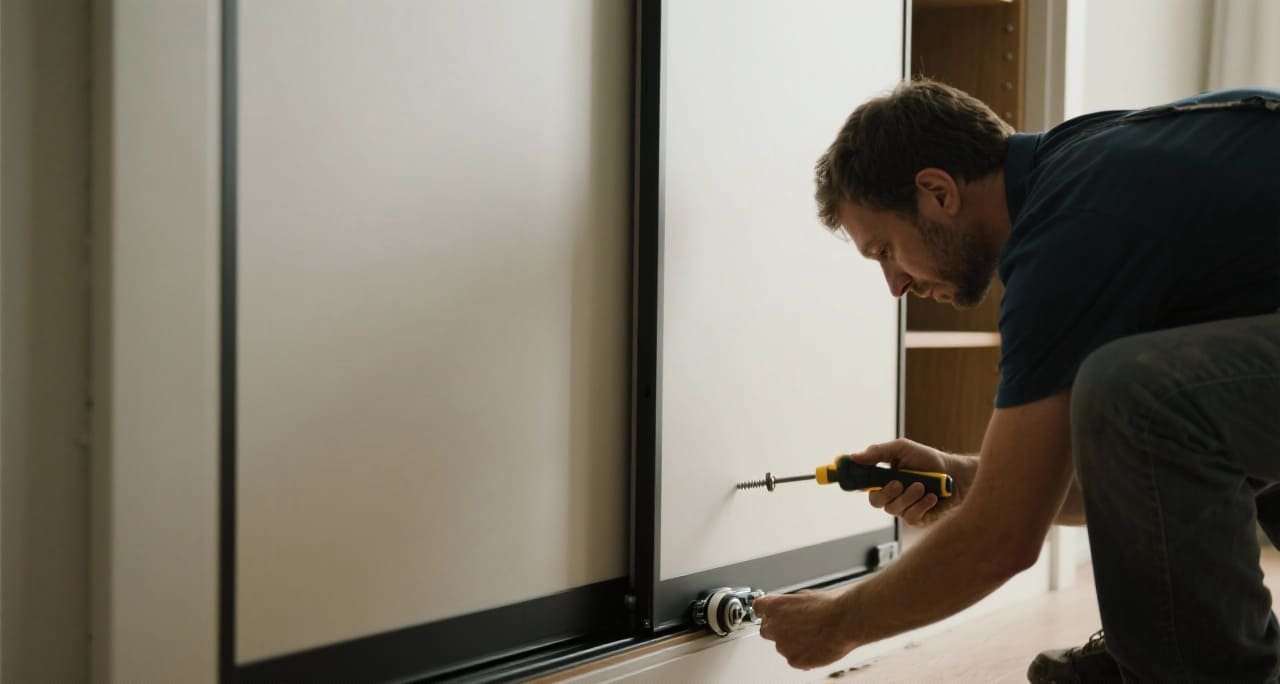
To fix a sliding wardrobe door that isn’t pulling tight, first, check the track for any debris blocking the path. If the track is clear, you will need to adjust the height of the wardrobe pulleys using the adjustment screws, ensuring the door hangs level and closes flush.
It is a common problem I see all the time. A beautiful wardrobe is installed, but the doors just don’t meet correctly. This small issue can ruin the whole look and feel of the furniture. But do not worry. This is usually something you can fix yourself with a little bit of knowledge. Let’s walk through the common reasons this happens and exactly how to solve each one.
Why is my sliding wardrobe door not closing properly?
There is a frustrating gap on your new wardrobe door. It lets in dust and just looks unfinished. Understanding the real cause is the first step to getting that perfect, seamless close.
The most common reasons are misaligned wheels, an obstruction in the track, or a problem from the initial installation. Check the rollers and the track first, as these are the easiest problems to identify and solve. This will fix the issue most of the time.
When a customer calls me with this problem, the first thing I ask is, "Was it always like this, or did it happen over time?" The answer tells me where to look. We can break the causes down into two main categories.
Initial Installation vs. Wear Over Time
Problems that exist from day one are usually related to the setup. If the door becomes loose after months or years of use, the cause is typically wear and tear or a lack of cleaning. In my factory, we design our hardware to be durable, but even the best systems need correct installation and basic maintenance.
Here is a simple breakdown of what to look for:
| Problem Source | Specific Cause | How to Identify It |
|---|---|---|
| Initial Installation | Incorrect Pulley Height | The door hangs at an angle, with a larger gap at the top or bottom. |
| Incorrect Measurements1 | The door is visibly too small for the opening, a carpenter’s error. | |
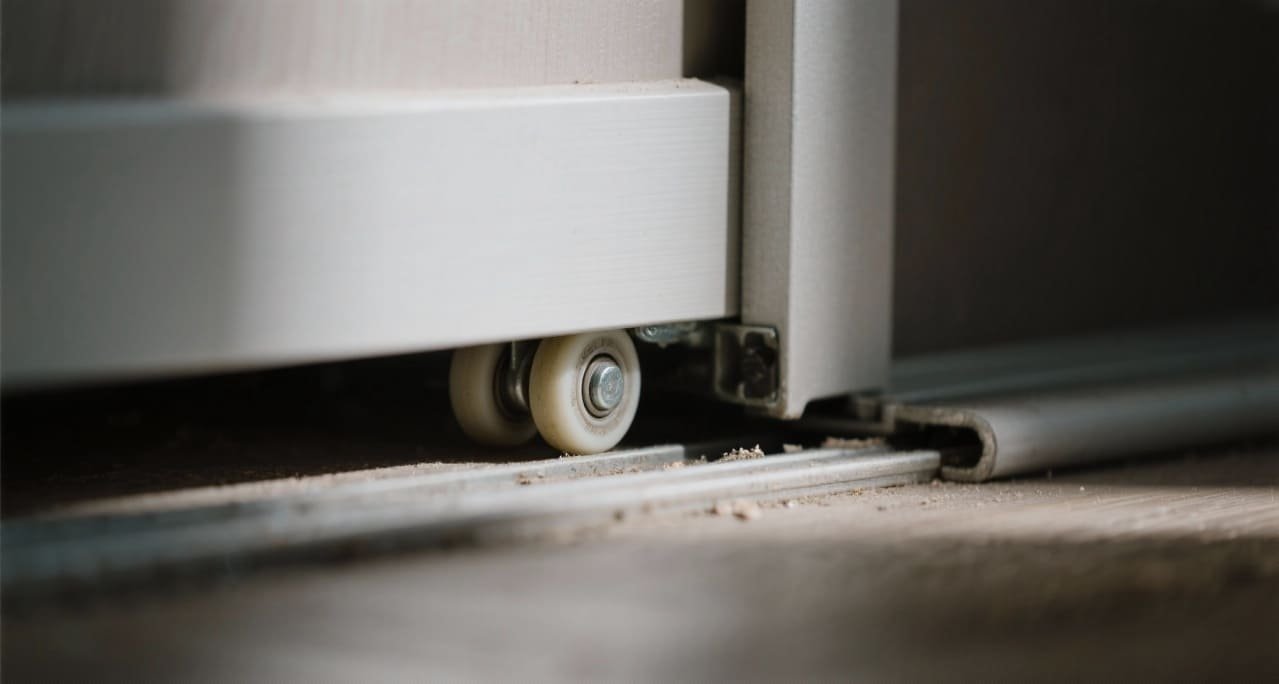
| Wear Over Time | Debris in Track2 | The door stutters or stops at a specific point. You can see dust or objects. |
| Worn-Out Pulleys | The door feels wobbly, makes a grinding noise, or has trouble rolling smoothly. | |
| Loose Hardware | The pulley brackets or guides feel loose to the touch. |
From my experience manufacturing these parts, the pulley height adjustment is the most common installation mistake. Carpenters are sometimes in a hurry and don’t take the final few minutes to perfectly level the door. Over time, the biggest enemy is dust and hair building up in the track.
How to fix a stiff sliding door?
Your sliding door is supposed to glide, but it is stiff and hard to move. You end up yanking and struggling with it every day. A little cleaning and lubrication will make it feel new again.
To fix a stiff door, first clean the tracks completely to remove all dirt and debris. After that, check the rollers for any damage. Finally, apply a silicone-based lubricant to the track for a smooth glide.
A stiff door is a sign that the moving parts are facing too much friction. This not only makes it hard to use but also puts extra stress on the components, leading to faster wear. As a manufacturer of these systems, I can tell you that a little maintenance goes a long way. Let me guide you through the process I recommend to all my B2B clients for their end-users.
A Step-by-Step Guide to a Smoother Glide
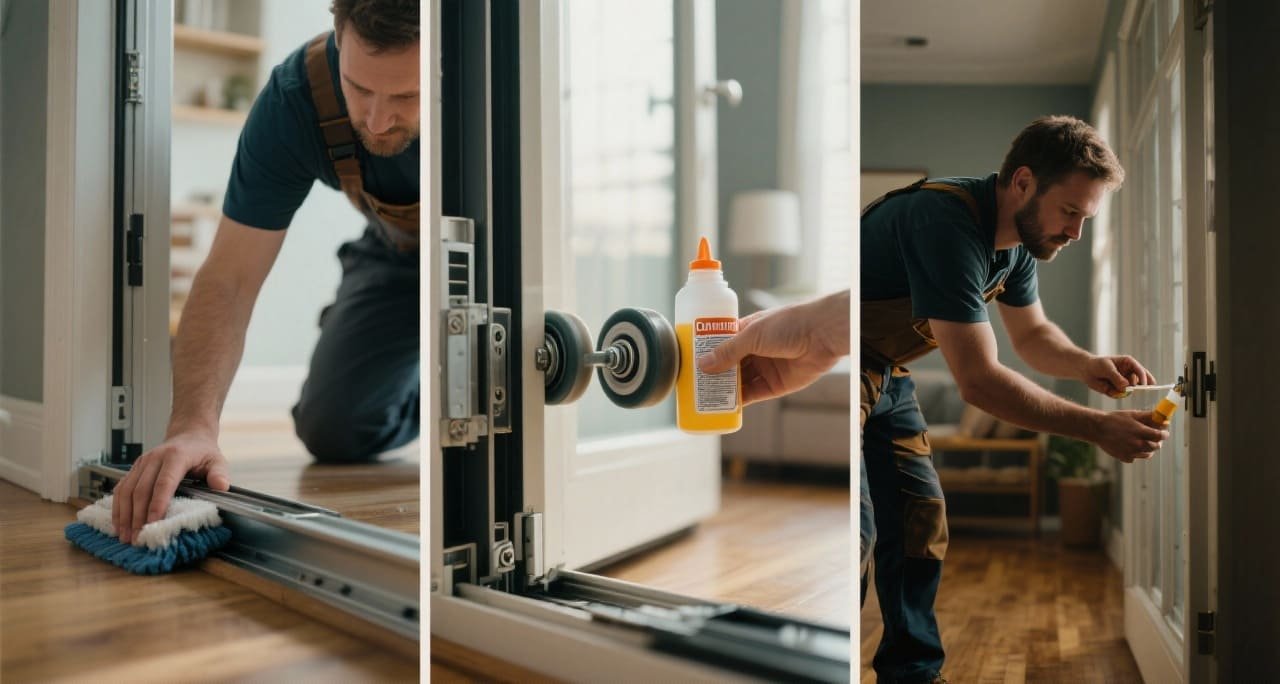
Follow these steps in order. Do not skip the cleaning, as lubricating a dirty track just creates a sticky mess.
The Clean-Up3: The track is the number one spot for problems. Use a vacuum cleaner with a narrow crevice tool to suck out all the loose dust, hair, and dirt. Then, use a stiff brush to dislodge any packed-in grime. Finish by wiping the entire track with a damp cloth and then a dry one. It must be completely dry before you move to the next step.
The Inspection: Look closely at the wheels, which we also call pulleys or rollers. Are they cracked? Do they have flat spots? Are they clogged with hair or fibers? If a wheel is damaged, it will never roll smoothly. It needs to be replaced. This is why we focus on producing top-quality, durable wheels at opensliding, as this single component is critical for performance.
The Lubrication: Do not use oil-based products like WD-40. They attract dust and will make the problem worse over time. You need a dry-film or silicone-based lubricant spray4. Apply a very light coat directly onto the track. You do not need much. Slide the door back and forth a few times to distribute the lubricant evenly across the track and onto the wheels.
How to fix a soft close sliding door mechanism?
Your soft-close feature has stopped working. The door now slams shut, which is loud and defeats the whole purpose. This is a common issue, and the fix is usually a quick reset or adjustment.
Most soft-close mechanisms can be fixed by first checking for obstructions. Then, you can reset the piston. Find the damper unit inside the track, make sure it is clean, and check that the actuator on the door is engaging it correctly.
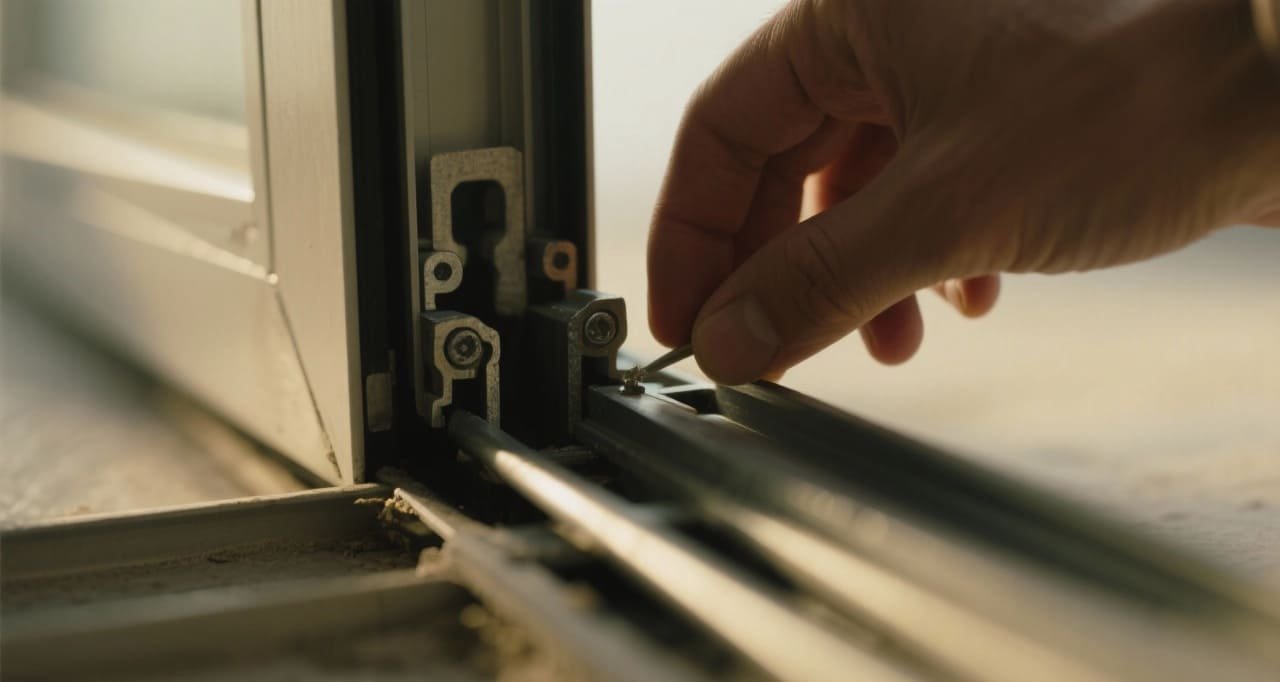
Soft-close systems add a touch of quality and luxury to a wardrobe. When they stop working, it is a real disappointment. I’ve been producing these systems for years, and I know they are simpler than they look. The mechanism has two main parts: a damper (a small piston, usually with oil or air inside) that sits in the track, and an actuator (a small catch) that is fixed to the door. When the actuator meets the damper, it triggers the soft-closing action.
Understanding Your Soft-Close System
When a customer reports a problem, it is almost always one of three things. The parts are blocked, they are misaligned, or the mechanism needs to be reset. A broken unit is rare, especially with a quality system.
Here is a simple troubleshooting guide5:
| Issue | Likely Cause | Solution |
|---|---|---|
| Door Slams Shut | Damper piston is stuck or disengaged. | Manually push the door slowly into the damper to see if it resets. If not, the unit may be faulty. |
| Doesn’t "Catch" | Actuator on the door is misaligned. | Loosen the screws holding the actuator. Slide it slightly so it fully engages the damper, then retighten. |
| Sticks or is Slow | Dirt inside the mechanism. | Carefully clean the damper unit and the track area around it. Do not spray lubricant directly into the damper. |
| No Action at All | The system needs a reset. | Slide the door fully open and then fully closed with moderate speed. This can sometimes reset the mechanism. |
The quality of the internal damper is everything. At opensliding, our soft-close systems6 are rigorously tested for tens of thousands of cycles to ensure they last. However, even the best hardware can need a simple tune-up after installation or if the door is handled roughly.
How do you make a sliding door airtight?
You notice drafts and dust getting around your wardrobe doors. Your clothes get dusty, and it can even make the room feel colder. Sealing these gaps is an easy and very effective solution.
To make a sliding door more airtight, you should install brush strips along the vertical edges and where the doors overlap. These flexible seals are designed to block drafts, dust, and light without affecting the door’s movement.
While wardrobe doors are not meant to be as airtight as an exterior window, sealing the gaps makes a huge difference. It protects your clothes from dust and can even help with light insulation. For my clients who build high-end custom wardrobes, this is a standard feature. They know it’s the small details, like a dust-free interior, that signal quality to their customers. The best way to achieve this is with dedicated seals.
Choosing and Installing the Right Seals
There are a few options, but one is clearly better for sliding doors.
Brush Strips (or Brush Seals)7: This is the professional choice and something we produce at opensliding. These are strips of high-density bristles held in a rigid backing, which is often self-adhesive. You install them on the vertical edges of each door. When the doors are closed, the brushes mesh together or press against the side panel, creating an excellent barrier against dust and drafts. The best part is that the flexible bristles add almost no friction, so the door still glides easily.
Foam/Rubber Weatherstripping8: This is common for hinged doors but less ideal for sliding ones. While these adhesive-backed strips provide a very tight seal against air, they can create too much friction. This makes the door harder to slide and can cause the strip to peel off over time.
For most wardrobe applications, I strongly recommend brush strips. Installation is simple: first, thoroughly clean the surface of the door edge where the strip will go. Then, measure the length you need and cut the strip with a sharp utility knife or heavy scissors. Finally, peel off the backing and press it firmly into place. It’s a small addition that makes a big impact.
Conclusion
Proper adjustment, regular cleaning, and simple seals are key to a perfect sliding door. Taking a few minutes for maintenance saves you from future frustration and keeps your wardrobe looking and working its best.
Understanding measurement mistakes can help ensure a perfect fit for your door, preventing future issues. ↩
Learning about the impact of debris can guide you in maintaining smooth door operation and prolonging its lifespan. ↩
Explore effective cleaning techniques to ensure your sliding door operates smoothly and efficiently. ↩
Discover top-rated lubricants that enhance the performance and longevity of your sliding door. ↩
Learn how to utilize a troubleshooting guide effectively to resolve common door mechanism issues quickly and efficiently. ↩
Explore the advantages of soft-close systems to understand their value in enhancing door functionality and user experience. ↩
Explore the advantages of Brush Strips for sliding doors to ensure optimal sealing and ease of use. ↩
Learn why Foam/Rubber Weatherstripping may not be the best choice for sliding doors and discover better alternatives. ↩