Struggling with dusty clothes and a gritty sliding door track? This daily annoyance can damage your wardrobe’s rollers over time. Here is the simple way to solve it.
Start by vacuuming the sliding door tracks with a brush attachment to lift all the loose dust and debris. For stubborn, packed-in grime, use a small, stiff brush to dislodge it. This simple action ensures your doors will glide smoothly and quietly again, protecting the mechanism.
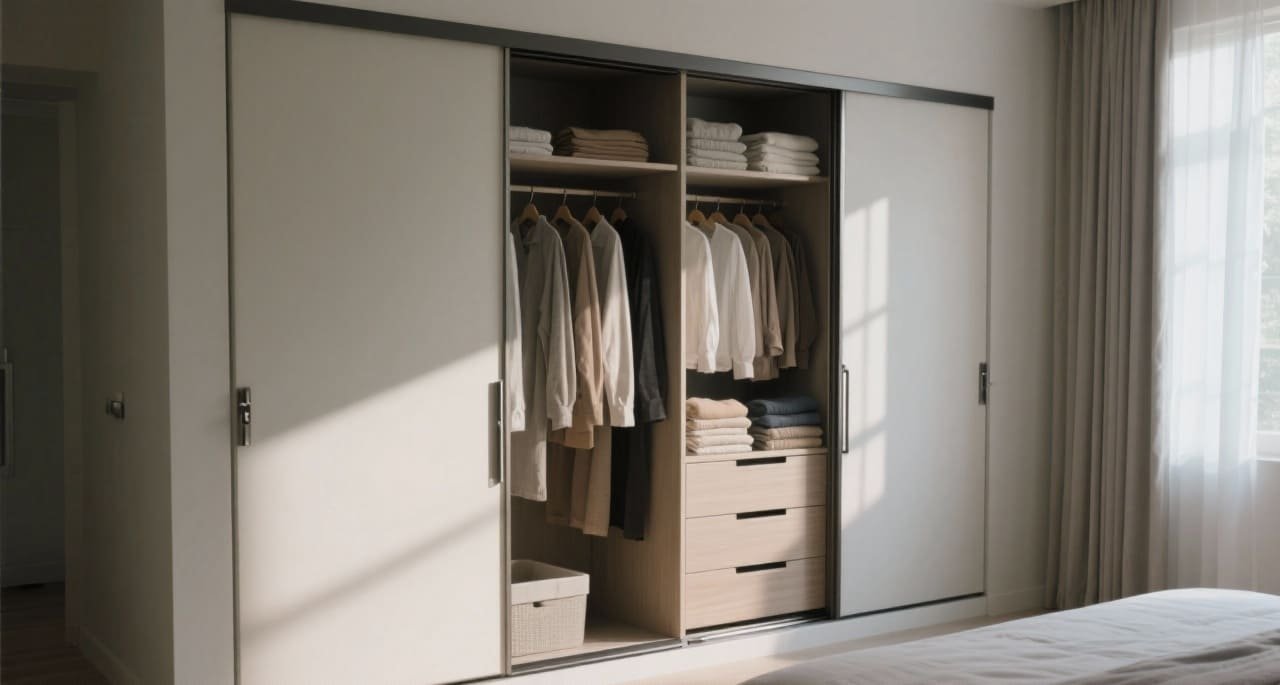
Getting the visible dust from the tracks is a great first step. I know from my experience in manufacturing that what you can’t see often causes the most problems. The real trick is learning how to tackle the hidden dirt and understanding why it builds up. Let’s look closer at how to keep your entire wardrobe system spotless and functional for years to come.
How do you remove dust from a sliding door?
Your sliding door feels gritty and looks dirty when you open it. This dust buildup can wear down the track and rollers, leading to expensive and frustrating repairs. A simple cleaning routine can prevent this.
First, use a vacuum cleaner with a crevice tool to clear out the tracks. Next, wipe the door surfaces with a damp microfiber cloth. For the tracks, an old toothbrush is perfect for removing packed-in dirt.

A Deeper Dive into Track Cleaning
As a factory owner, I’ve seen how a little bit of grit can cause major damage to sliding systems. Proper cleaning is not just for looks; it’s essential maintenance. A clean track equals a long-lasting, silent door. Here’s a more detailed breakdown.
Step-by-Step Track Cleaning
- Gather Your Tools: You don’t need much. Grab your vacuum with its brush and crevice attachments, an old toothbrush, a microfiber cloth, and a small bowl of water with a drop of mild soap.
- Start with a Dry Clean: Always vacuum first. This removes all the loose particles of dust, hair, and dirt. If you add water first, you’ll just make a grimy paste that’s harder to clean. Use the brush attachment to go over the tracks and the visible parts of the rollers.
- Tackle Stubborn Grime: Now, dip the toothbrush into your soapy water and gently scrub inside the track grooves where dirt gets compacted. The stiff bristles are great for dislodging anything the vacuum missed.
- Wipe and Dry: Use your damp microfiber cloth to wipe away the loosened grime and any soap residue. Then, it’s very important to wipe everything down with a dry part of the cloth. Excess moisture can damage wooden frames or cause rust on some metal components.
How do you clean dust behind a wardrobe?
That narrow space behind a built-in wardrobe is a magnet for dust. This hidden buildup can lower your room’s air quality and harbor allergens you can’t even see. You can clean it without moving heavy furniture.
Use a vacuum cleaner with a long crevice tool to reach deep behind the wardrobe. For a simple DIY tool, wrap a microfiber cloth around a yardstick or broom handle and secure it with a rubber band.

Reaching the Unreachable Dust
Having worked with furniture factories and contractors for years, I know that many modern wardrobes, especially built-in ones, are too heavy or fixed to move easily. But that hidden dust1 still needs to go. It can impact not only your health but also the ventilation around the furniture.
Effective Methods for Hidden Spaces
- The Vacuum Method: Your vacuum cleaner is your best friend here. The long, thin crevice tool is designed for exactly this kind of job. Some vacuums even come with flexible hose attachments that can bend to get around corners. This is the most effective way to actually remove the dust, not just stir it up.
- The DIY Duster Tool2: The yardstick trick is one I recommend to customers all the time. Simply wrap a dry microfiber cloth around the end of a stick and slide it back and forth behind the unit. The microfiber will trap and hold onto the dust. For even better results, you can lightly dampen the cloth.
- When You Must Move It: For a truly deep clean, which I suggest doing once a year, you may need to move the wardrobe. If you must, always empty it completely first to make it lighter. Get help to avoid injury or damage to your floors. This gives you a chance to clean the wall and floor thoroughly.
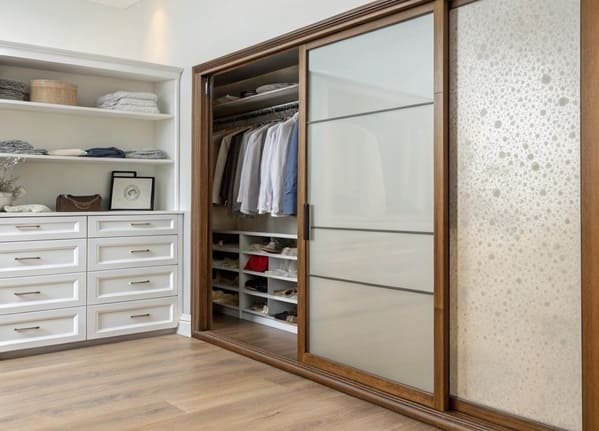
How do you clean sliding wardrobe doors?
Fingerprints, smudges, and a layer of dust can cover your wardrobe doors. This makes the entire room look messy and less appealing. You can make them sparkle again with the right technique for the material.
The best method depends on the door’s material. For wood, use a wood-specific cleaner. For glass or mirrors, a 50/50 mix of white vinegar and water works perfectly. Always use a soft, lint-free cloth.
Cleaning Based on Door Material
As a supplier of hardware for all types of doors, I know that one cleaning solution3 does not fit all. Using the wrong chemical can permanently damage a door’s finish. It’s crucial to match your cleaning method to the material to keep it looking new. Always test any new cleaner on a small, hidden spot first.
Below is a simple chart I give to clients to help them with maintenance.
| Door Material | Cleaning Solution | Technique |
|---|---|---|
| Wood/Veneer | Mild soap and water, or a dedicated wood cleaner. | Use a slightly damp cloth to wipe, then immediately buff dry with a separate, clean cloth to prevent water spots. |
| Mirrored/Glass | 50/50 mix of white vinegar and water in a spray bottle. | Spray the solution onto your cloth, not directly on the mirror. Wipe in a top-to-bottom ‘S’ pattern for a streak-free finish. |
| Laminate/Melamine | All-purpose cleaner or a simple soap and water solution. | Wipe down with a damp cloth. These surfaces are durable but can be scratched, so avoid abrasive sponges or scouring pads. |
| High-Gloss | A bowl of water with just one drop of dish soap. | Use a clean, high-quality microfiber cloth. Gently wipe the surface and then buff it dry with a separate, dry microfiber cloth to restore the shine. |
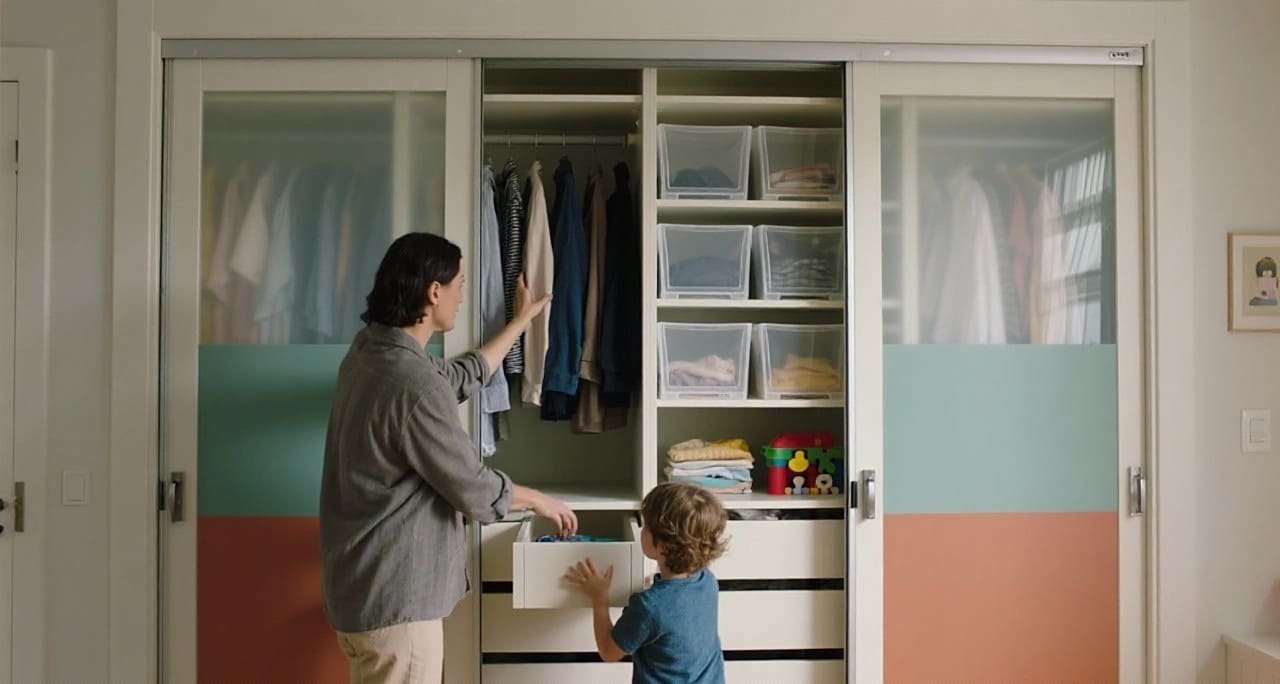
Why is there so much dust in my wardrobe?
You just cleaned, but dust is already settling back inside your wardrobe. This is a common frustration, and it means your clothes are never truly clean. Understanding the source of the dust is the key to solving the problem.
Dust in wardrobes comes from three main sources: fibers from your clothes, dead skin cells, and outside particles entering the room. Crucially, gaps around the sliding doors allow this room dust to get inside easily.
Identifying the Dust Culprits
In my business, we don’t just sell parts; we provide solutions. A dusty wardrobe is a system-level problem, not just a cleaning issue. If we can reduce the amount of dust getting in, we can reduce cleaning time and protect your clothes.
The Main Sources and Their Solutions
- Internal Sources (Clothes and Skin): A large portion of dust is made of tiny fibers from clothing, towels, and bedding, along with dead skin cells. You can’t stop this completely, but you can manage it. Store seasonal or rarely used clothing in sealed garment bags or boxes.
- External Sources (The Room): Every time you open your wardrobe, dust from the room gets in. This includes dirt tracked in from outside, pollen, and other airborne particles. Regular vacuuming of the room, especially carpets, will help. An air purifier4 can also make a big difference.
- Poor Sealing (The Doors): This is the factor I focus on with my B2B clients. If there are visible gaps between your sliding doors or between the doors and the frame, you have an open invitation for dust. This is where hardware quality matters. High-quality roller systems ensure a tighter, more precise fit. To fix this on existing doors, we supply brush strips, also known as dust seals. These are easy to install on the edge of the doors and create an effective barrier that blocks a huge amount of dust from ever getting in.
Conclusion
A clean wardrobe is simple to achieve. Regularly clean the tracks and doors, understand the source of the dust, and consider adding brush seals to stop dust from entering in the first place.
Explore effective techniques to eliminate hidden dust, ensuring a healthier living environment and better ventilation. ↩
Learn how to create a simple and effective DIY duster tool to reach those tricky spots and keep your home dust-free. ↩
Explore this link to discover tailored cleaning solutions for various door materials, ensuring you maintain their beauty and longevity. ↩
Learn about the benefits of air purifiers in reducing dust and improving air quality in your home. ↩